I needed some beach inspired artwork to finish off my dining room makeover but having no money left over in the budget, I had to get creative! Looking around the apartment for something to use, I found this piece of plywood leftover from a project which was the perfect size, but what to put on it? After looking on Pinterest for some inspiration, I found my answer: Driftwood! It’s free and it meant a trip to the beach which I love. So I headed to the shore and after exploring a few beaches, I had my driftwood to get started on my DIY driftwood art project:
What I used: Driftwood, 1/4″ plywood (20″ x 22″), liquid nails glue, sandpaper
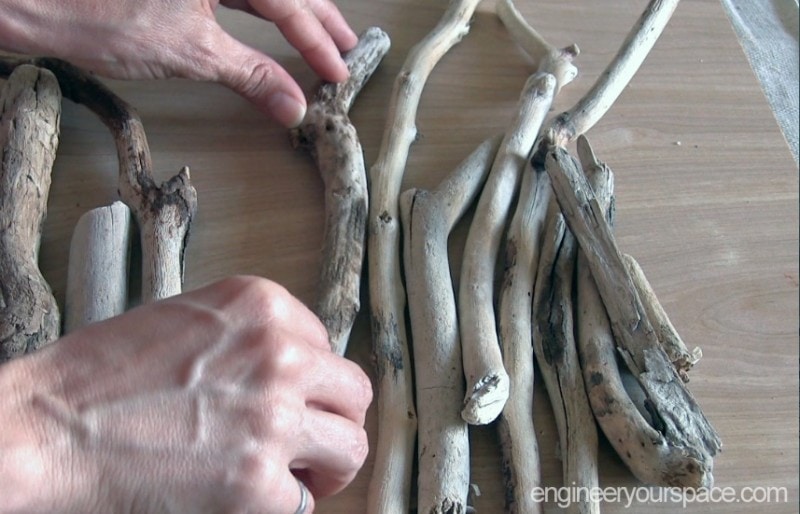
Step 1: Arrange your driftwood in a pattern
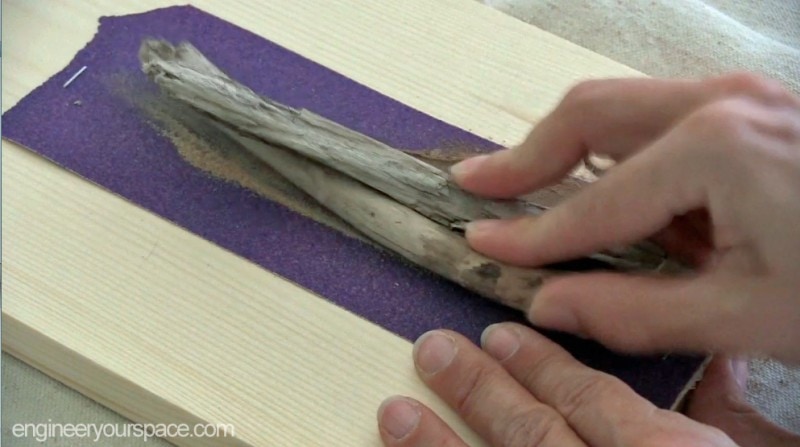
Step 2: Staple sandpaper to a piece of wood and sand down a flat surface on each piece of driftwood.
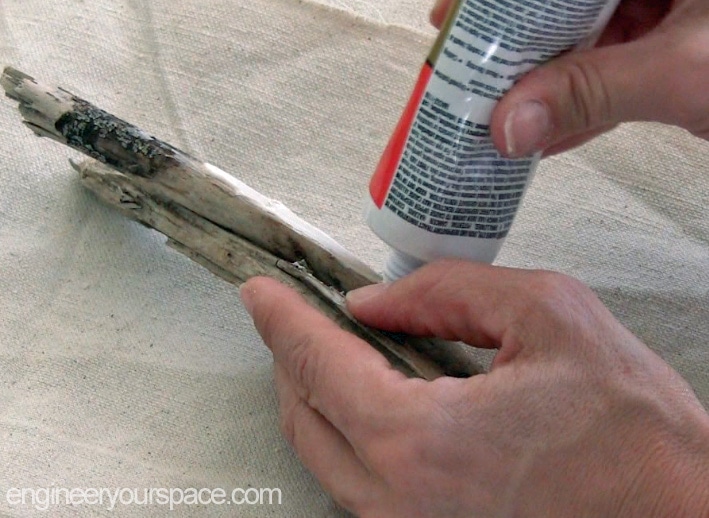
Step 3 : Add wood glue and place on the plywood, wait for it to dry.
And voila, after a trip to the beach and just 30 minutes, I had my free DIY driftwood art that reminds me of the ocean, the beach and the sun. It turned out to be the perfect finishing touch to my dining room makeover.

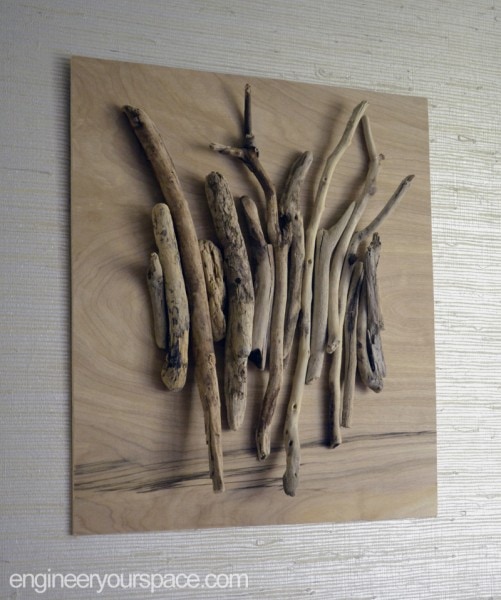
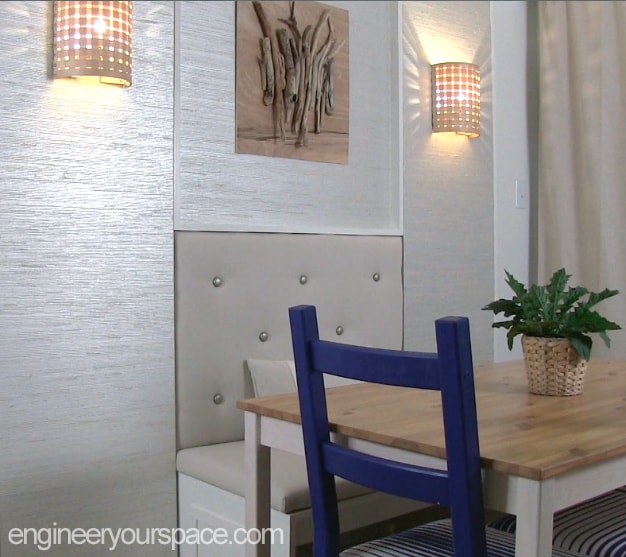


Simple and very effective, just goes to show that in some cases less is more.
Thank you!
Loved the way you do balcony and room makeovers. It’s simple and elegant. Just watching ur videos in YouTube and wanna do a makeover to my home too.
Thank you and glad I inspired you to makeover your home too!