You might have asked yourself, how do you make a fake fireplace? Is it hard to do? Well, this modern DIY faux fireplace that I designed is easy to build and something you can customize to your taste with any electric fireplace insert and with any type of tile surround. And since you build it like a piece of furniture, this DIY faux fireplace is perfect for homeowners and renters alike!
***Do keep in mind that this project is for decorative purposes only and is not to be used as a heater***
You can watch the entire project in this video.
Or if you prefer reading and seeing pictures, I’ve added the entire episode transcript below (with some modifications for clarity) along with some images to highlight the main steps.
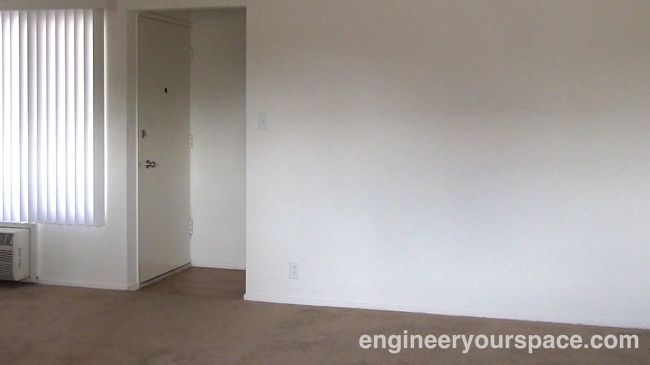
I love fireplaces, but unfortunately my current rental apartment doesn’t have one. So I wanted to figure out a way of making one that could be removable but also easy to take with me when I move out. So I did a bit of research online and it turns out that there’s a lot of options out there for fireplaces that don’t require a chimney or even venting. After looking at all the options, I decided to go with this electrical log insert. Now even though it has a heater feature I’m not planning on using that at all, this project is only going to be purely a decorative element. I chose it so I could design and build my own fireplace around.
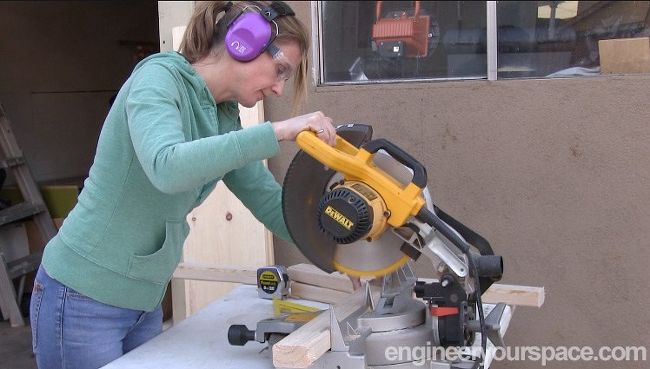
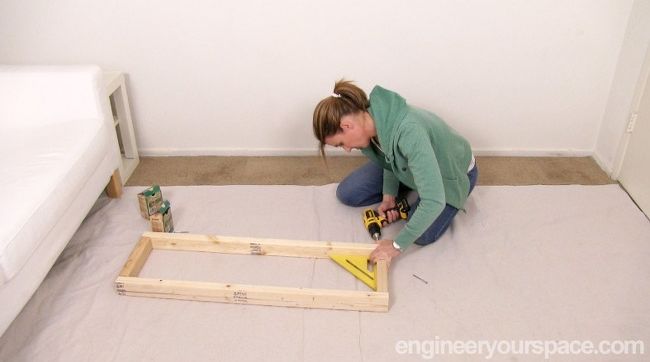
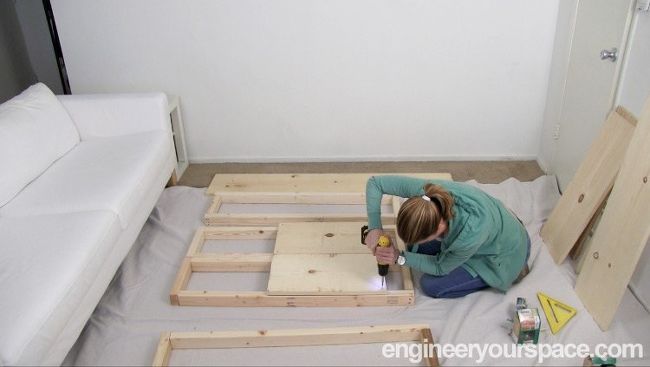
To build this structure. I use 2″x3″, but you could also use 2″x4″ because this is inexpensive lumber, it takes a while to find pieces that are straight. I usually have everything cut at the hardware store. But this time I was able to borrow some tools to do it myself, which was a lot of fun. Here I’m cutting the one by twelve pine boards that will be used to create the firebox and serve as the base and the top of the structure. I chose these because the width is perfect for the depth of the firebox that I want, but of course, I could have also used plywood, I started putting together the structure by first making four of these supports using a speed square to make sure that every corner is at 90 degrees.
Next, I attach the sides of the firebox to two of the supports and then attach the top and bottom. Again making sure here with my speed square that every corner is at 90 degrees. You might have noticed that I’m not drilling any pilot holes, and that’s because I’m using a type of screw that doesn’t require any pre-drilling which really speeds up the process.
Then I attach the bottom of the structure making sure it’s centered, and then secure the last two supports on either end of it. The last piece to go on is the top which I started by securing at one end, and then securing the other support making sure they’re nice and flush with the edge.
With this design you could easily change the proportions of everything. Make it narrower, taller or have the firebox be higher or lower.

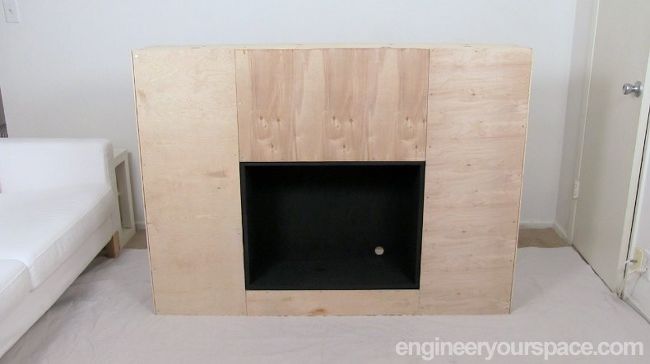
To cover it I used one sheet of quarter inch thick plywood cut into smaller pieces just to make it easier to transport. I’m using screws to attach the plywood, making sure that all the screw heads are sunk below the surface. You could of course also use nails to attach the plywood. I did add blocking around the firebox to have a place to screw in plywood and before installing the plywood that covers the back of the firebox. I used the hole saw to make a hole to accommodate the electrical cord of the fireplace insert. And then I painted the inside of the firebox with black chalk paint.
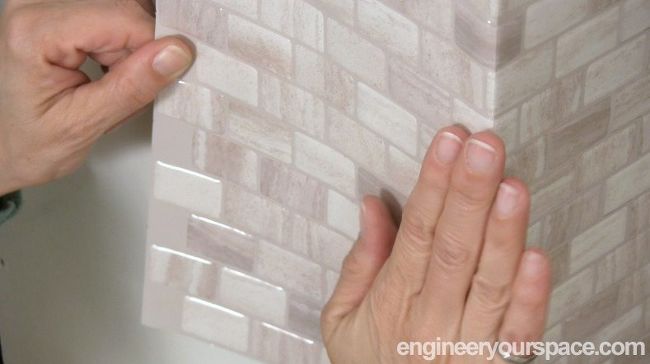
I wanted my fireplace to have a modern yet beachy and casual look. So to cover the fireplace I chose these smart tiles that have a beautiful stone finish that will blend in nicely with the rest of the apartment. Because it’s not recommended to install smart tiles on unfinished wood, I painted the plywood and let the paint dry for 48 hours.
I started by removing the ends of the first tile using a utility knife and ruler, I used the tile to mark the bottom of the first row. And that space at the top here is going to be covered up by the mantle. I use the level to draw a line as a guide to line up the tiles. It’s really important to get the first row of tiles lined up perfectly. And I did have to readjust a few times to get it just right. Once it was lined up perfectly, I peeled off all the backing and pressed down on the rest of the tile. Since the next tile is going around an outside corner, I marked the location of the bend and lightly scored the tile at that spot and then I bent the tile along the line and this makes it easier for the tile then when you’re installing it, and it makes for a really nice sharp corner. It’s so great to not have to deal with messy grout when doing this. And the way the tiles are designed makes the seams disappear so that you really can’t tell where one tile ends and the other one begins.
For the mantle, I used 1″x4″ and 1″x2″ to make size, which I then attached to a piece of plywood. This is a bit of a Frankenstein, but one screw to the fireplace and painted, it does the job of giving the look of a thicker, more substantial mantle. Because this fireplace is tall and narrow, it should be secured to the wall with an anchor like this, which you can get at IKEA for free.
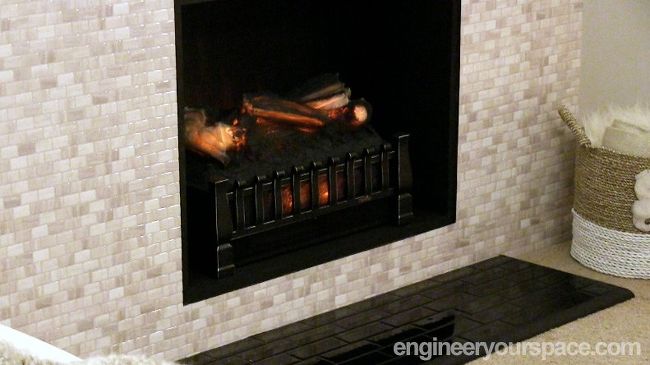
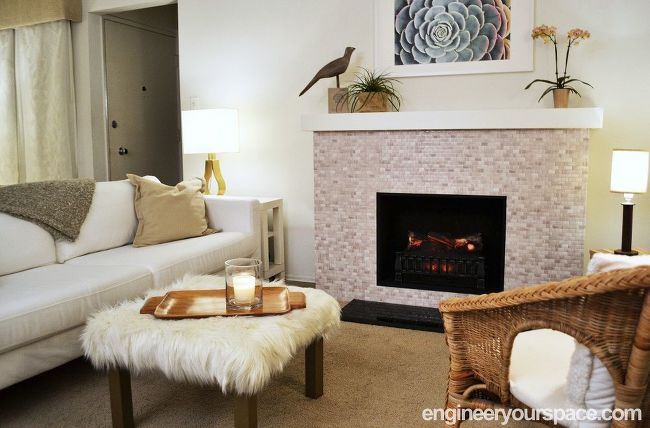
The last thing to do, of course, is put in the fireplace insert. And I have to say I was really surprised at how real it looks for a fake fire. It looks so real that I decided to complete the look of the fireplace with a hearth that I made with wood covered with some more smart tiles in a black subway pattern.
Now please keep in mind that this entire project is for decorative purposes only. I never used the heater from the log insert. And it’s also not recommended to use smart tiles for floors and especially not in front of a real fireplace.

I’m absolutely in love with this fireplace. It adds so much character to the boring white walls and it truly makes the room feel cozy and inviting. And since it’s basically just like a piece of furniture, I’ll be able to take it with me when I move out.
To complement the fireplace, I also made a few other DIY projects like the furry Ottoman, and you can see how I made that in this video:


How did you make the hearth I have moved into a house that has a crazy shaped fireplace without a hearth and smart tiles would be great for a decorative hearth