If you’ve been following along, you know that I’ve taken on my biggest DIY project to date: building a Murphy bed for a 200 ft2 studio apartment makeover. I’ve shared the process in several posts and also made this video of the entire build, but I thought you might enjoy reading about the highlights of what is was like to build this project without a workshop, and how I pimped up the inside with custom industrial wall lamps.
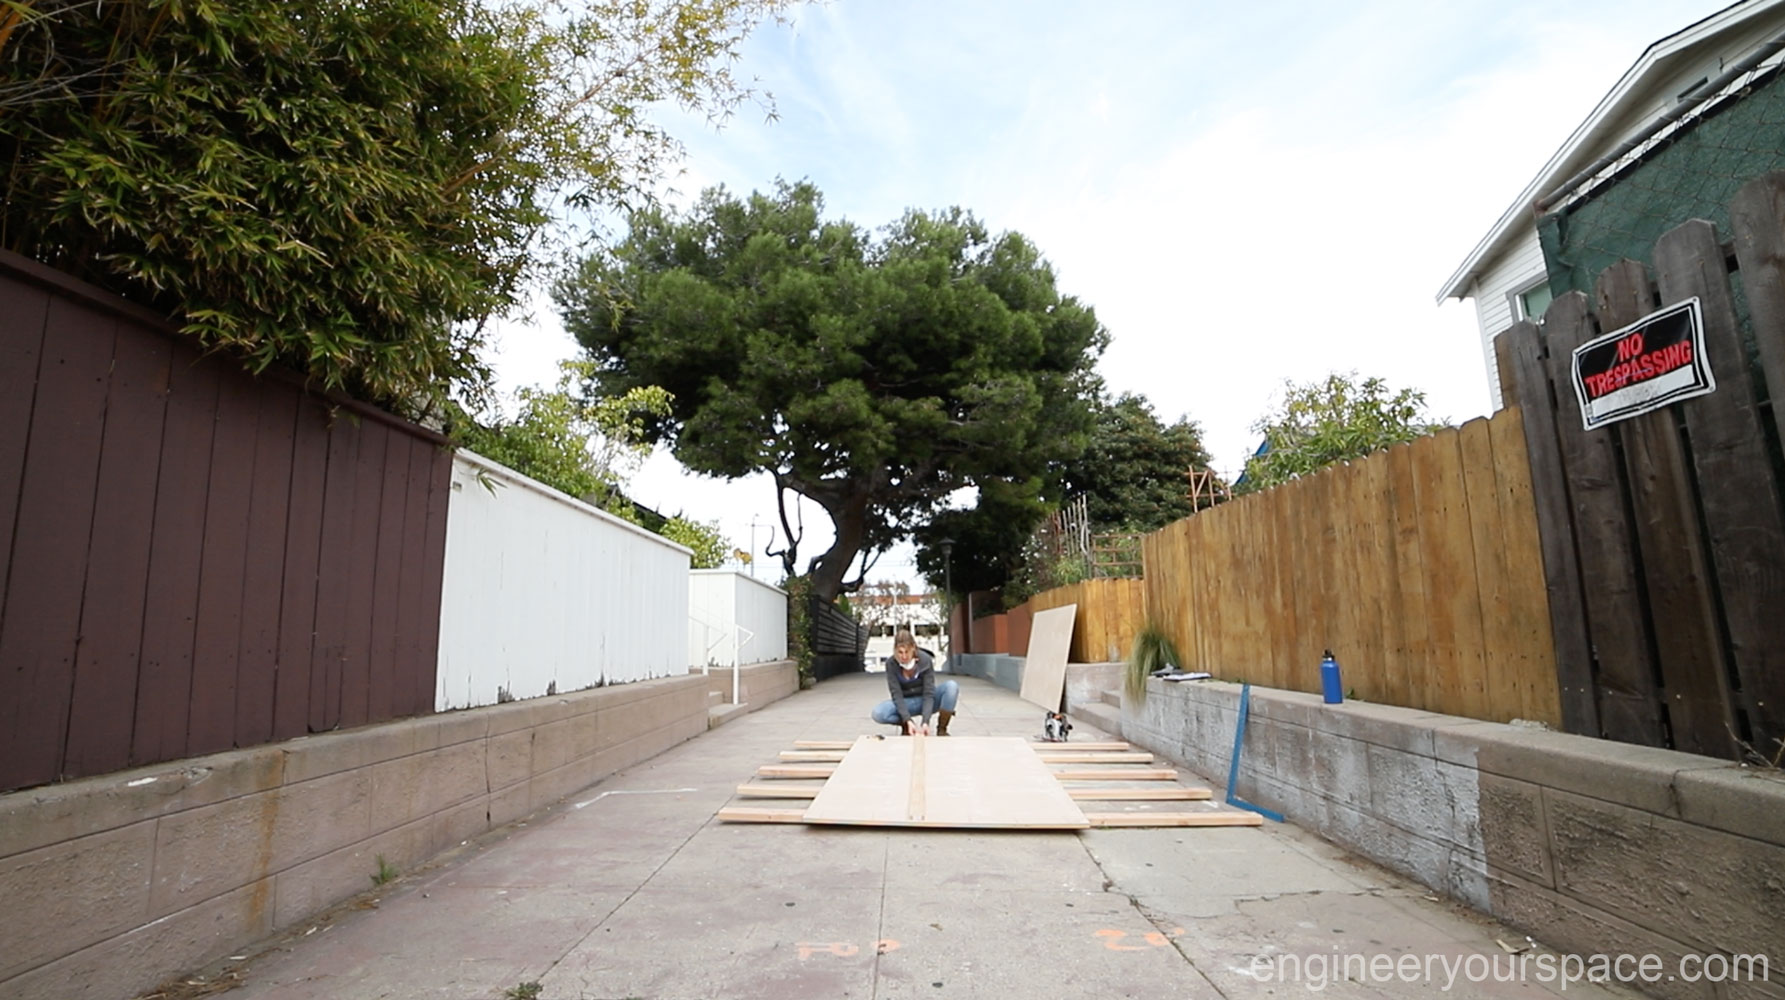
Not having a workshop meant that I had to get creative as to where and how I would cut the plywood for the Murphy bed cabinet (you can read about how I chose the type of Murphy bed and the Murphy bed kit I used here). I set up my temporary cutting station outside, using 2″x4″ to support the plywood while cutting.
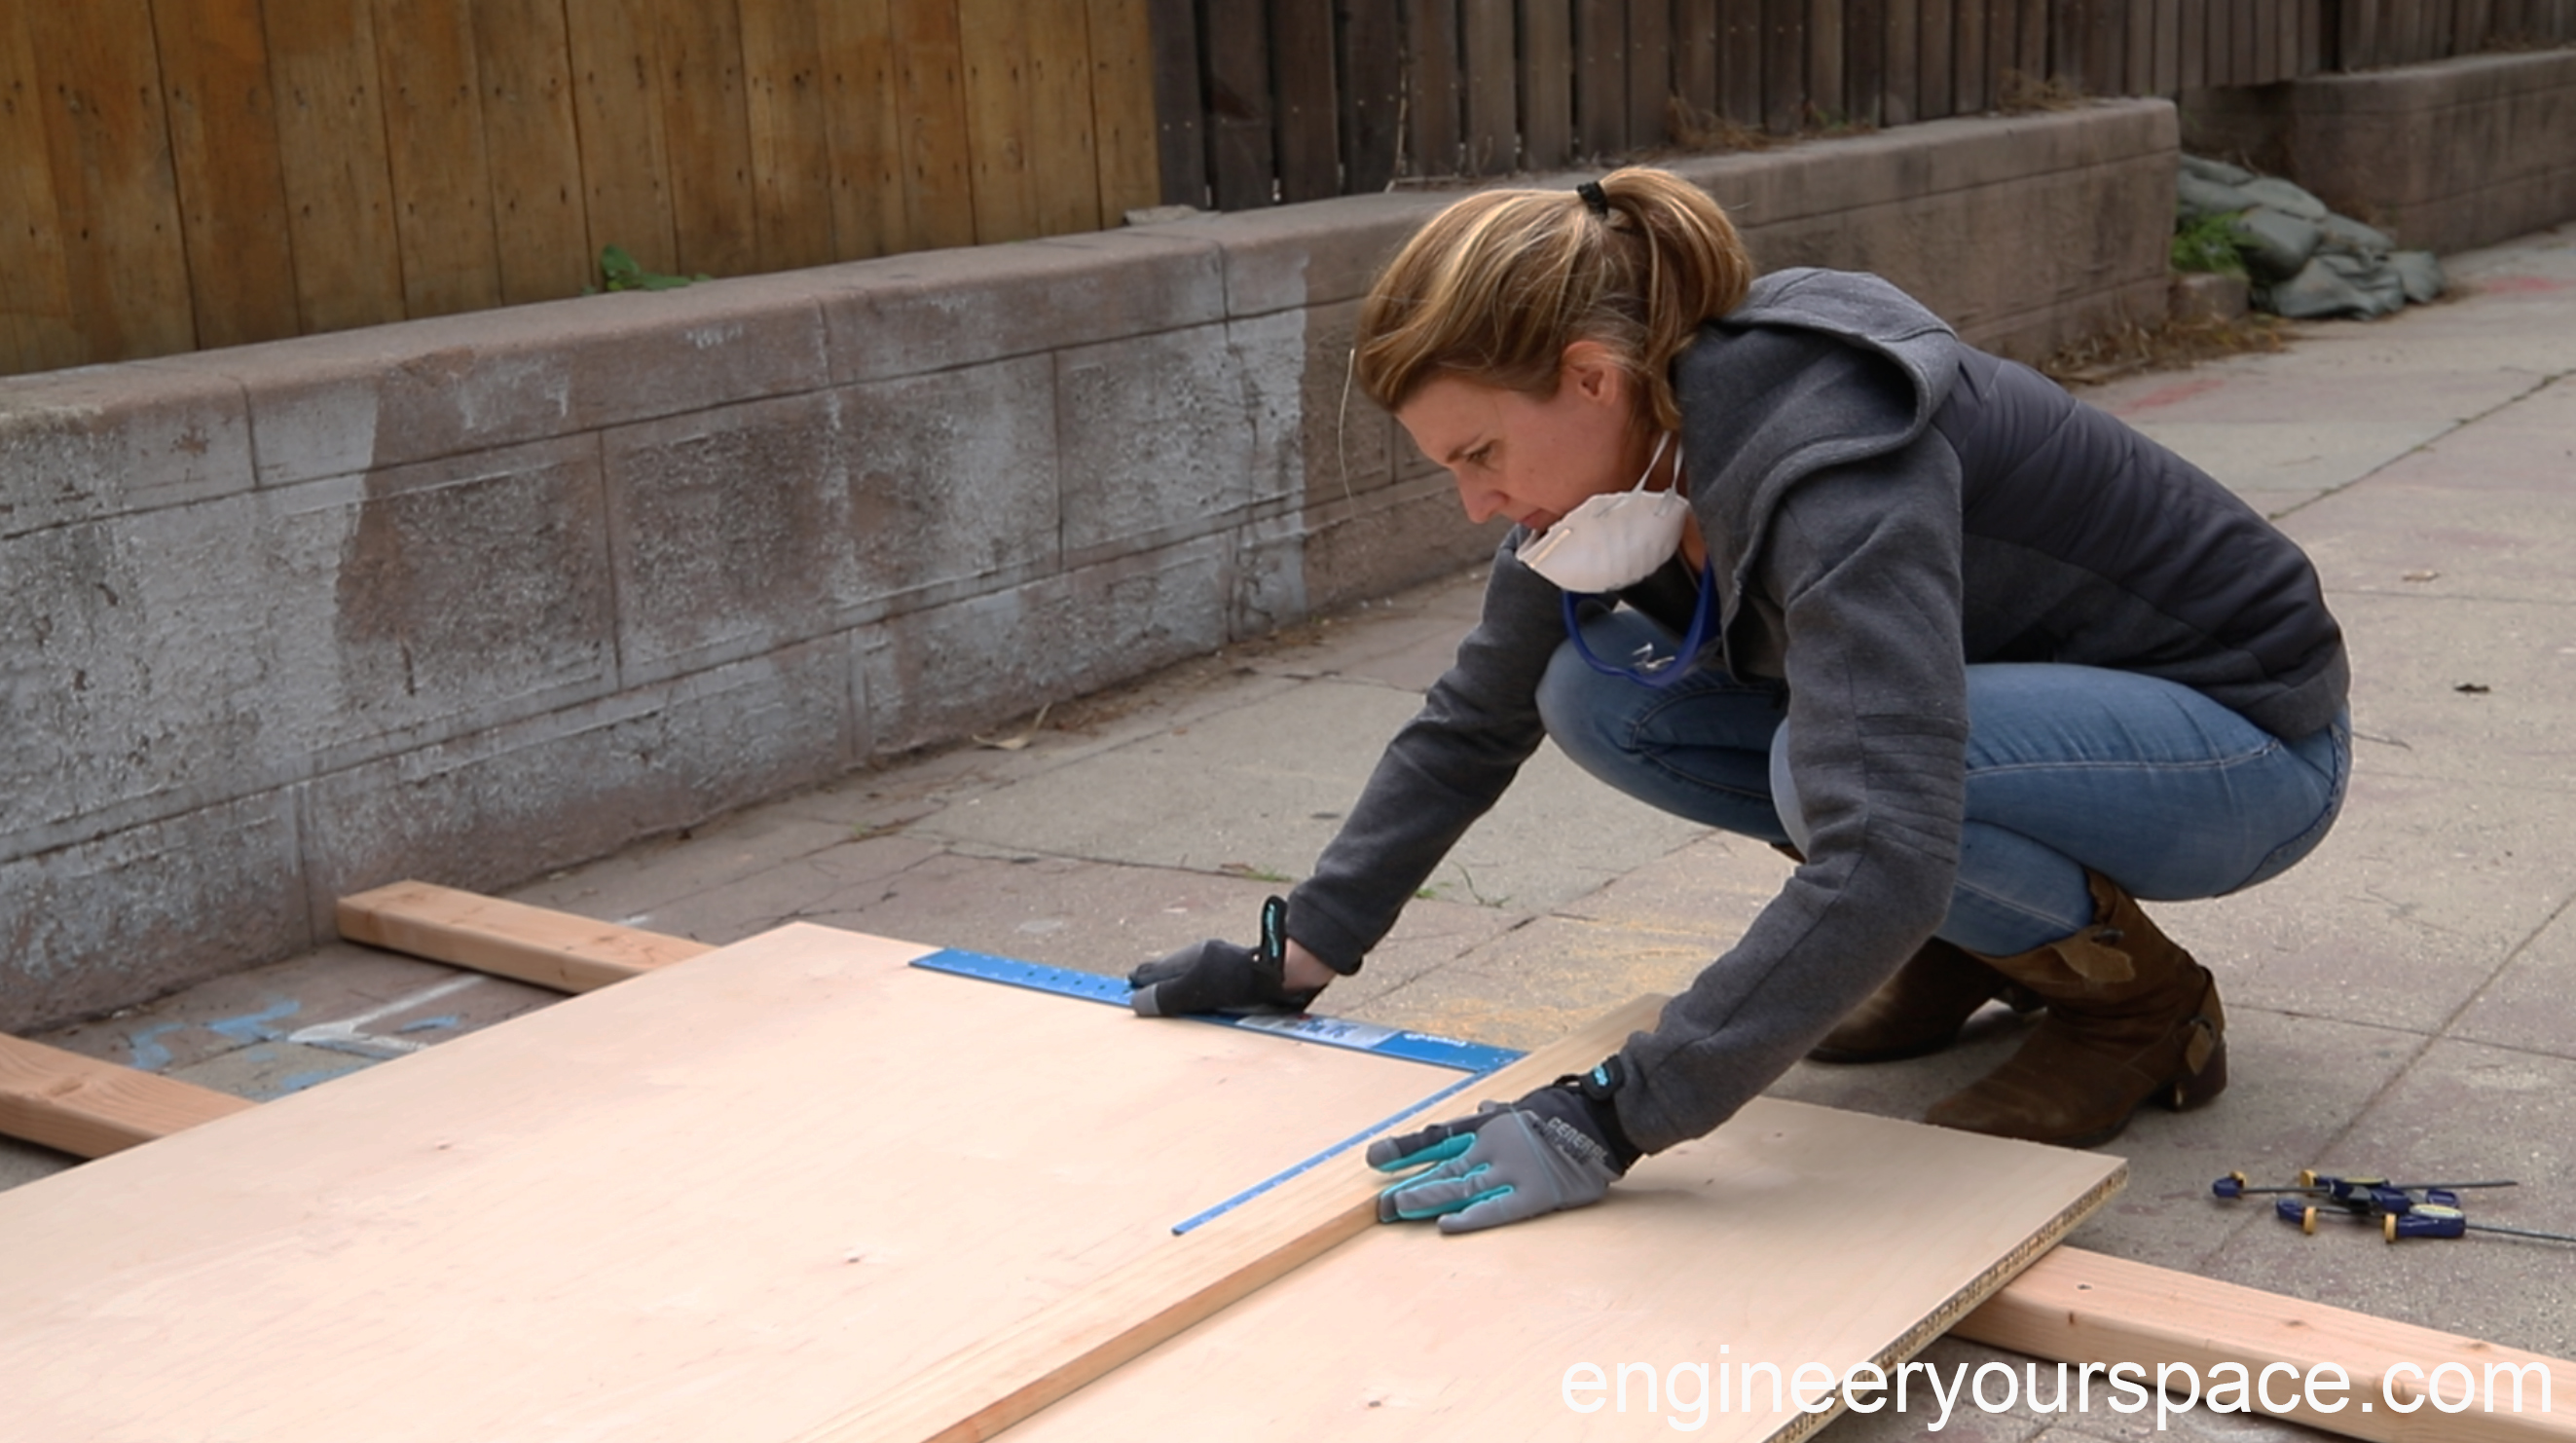
It’s very important that all the cuts are accurate and perfectly square so I took extra time to make sure the cutting guide was in the right position. The Murphy bed kit I used had very detailed instructions which were very helpful and I highly recommend reading them a few times before starting the project and while building. There’s a lot of little details that are crucial to pay attention to for the project to go smoothly.
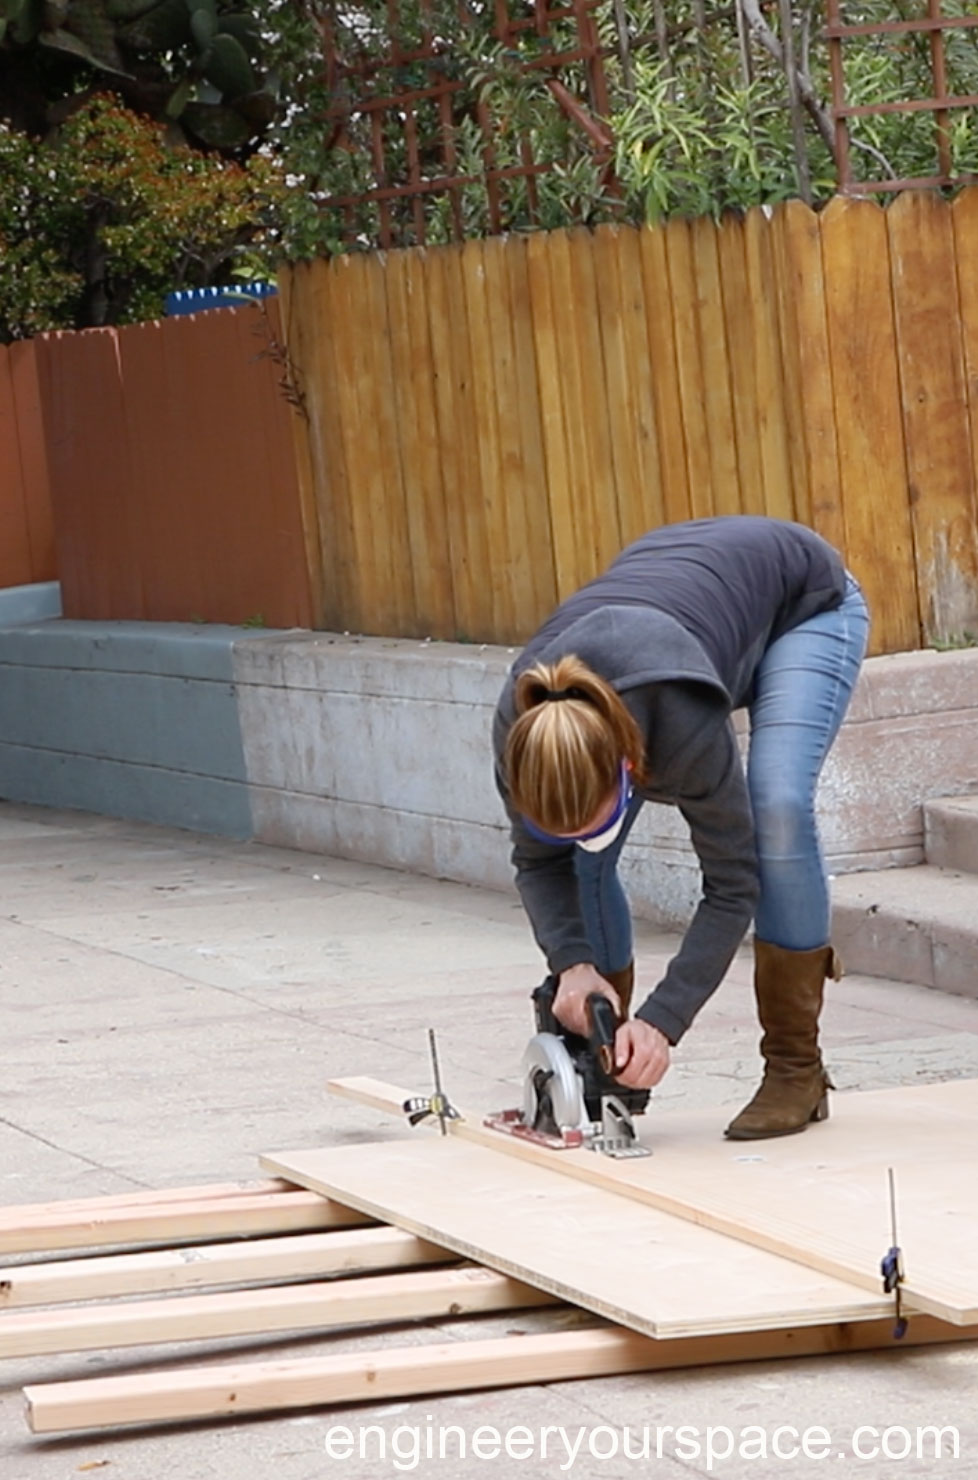
Having a cordless circular saw to do the cutting, while not ideal (having a table saw or a track saw would have made this step at lot easier), worked really well.
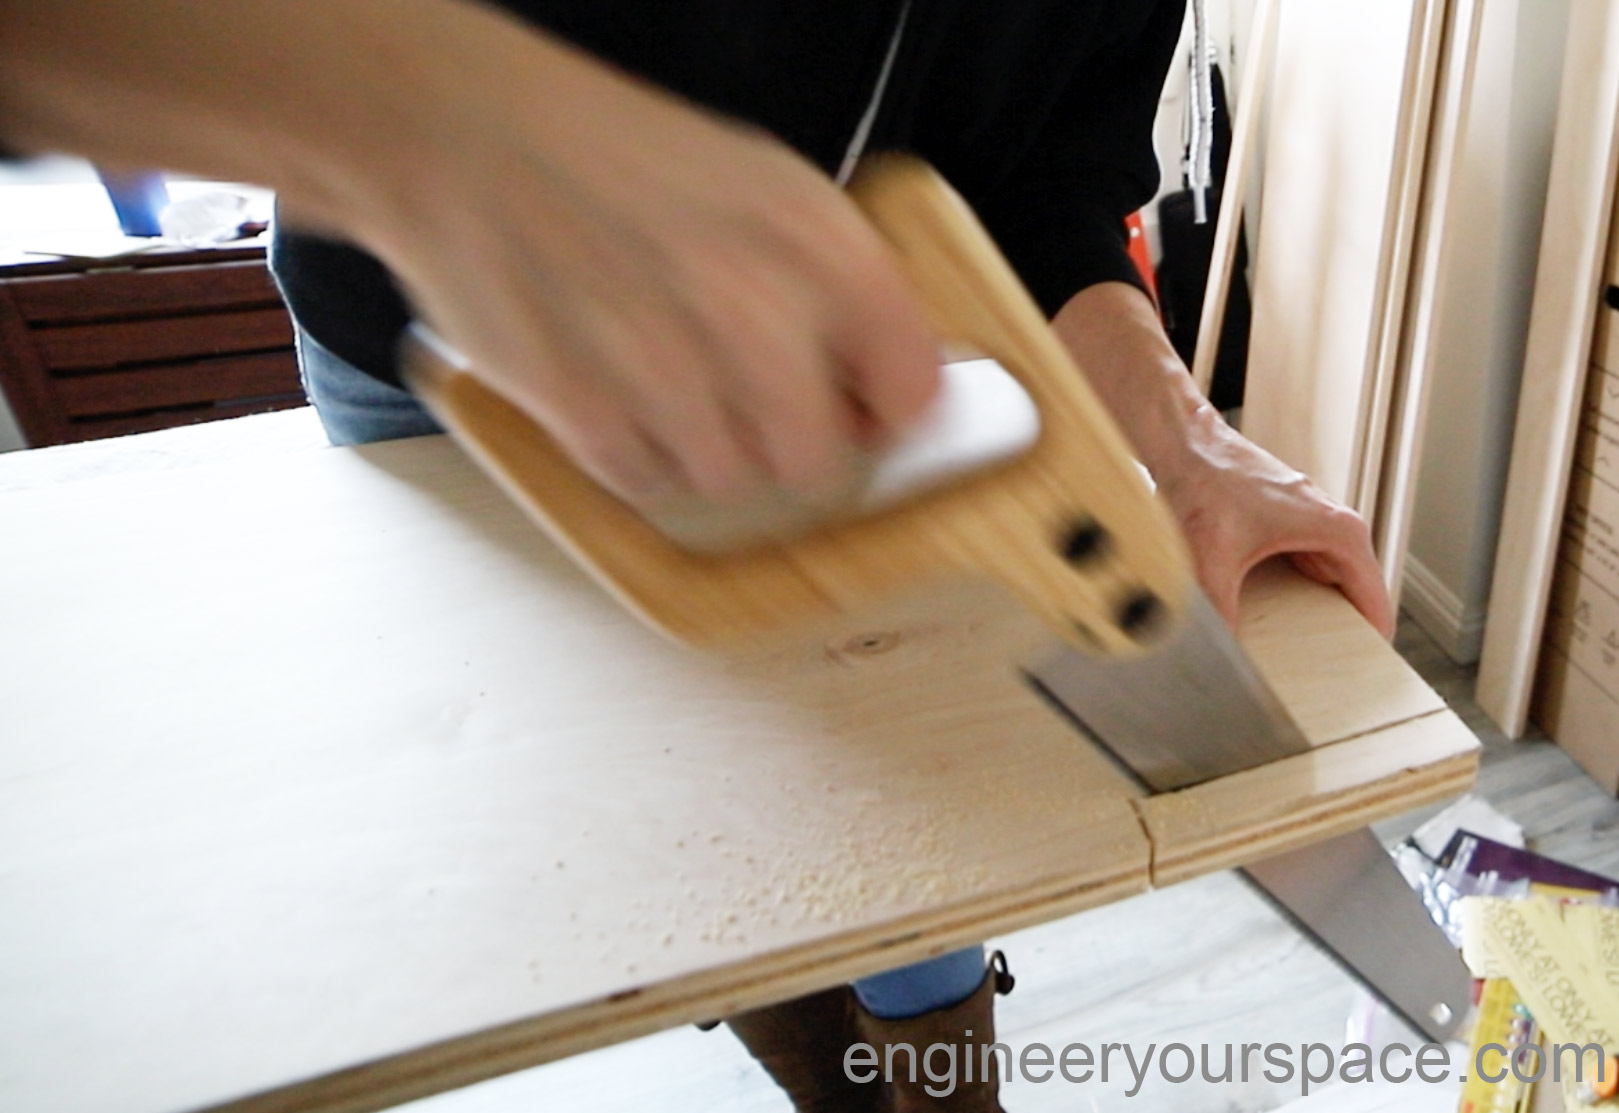
Then there was a lot of sanding, edging and staining (lots more details on these steps here) before it was time to get to the assembly. One small detail that’s really important was cutting out a notch in the side panels to allow space for the bottom moulding on the wall – this will make it possible for the cabinet to be flush with the wall, which is needed to be able to anchor it to the wall.
Once all the cabinet pieces were prepared, it was time to install the Murphy bed hardware on the side panels. I chose to use a Murphy bed kit with springs but you could also use one that has pistons.
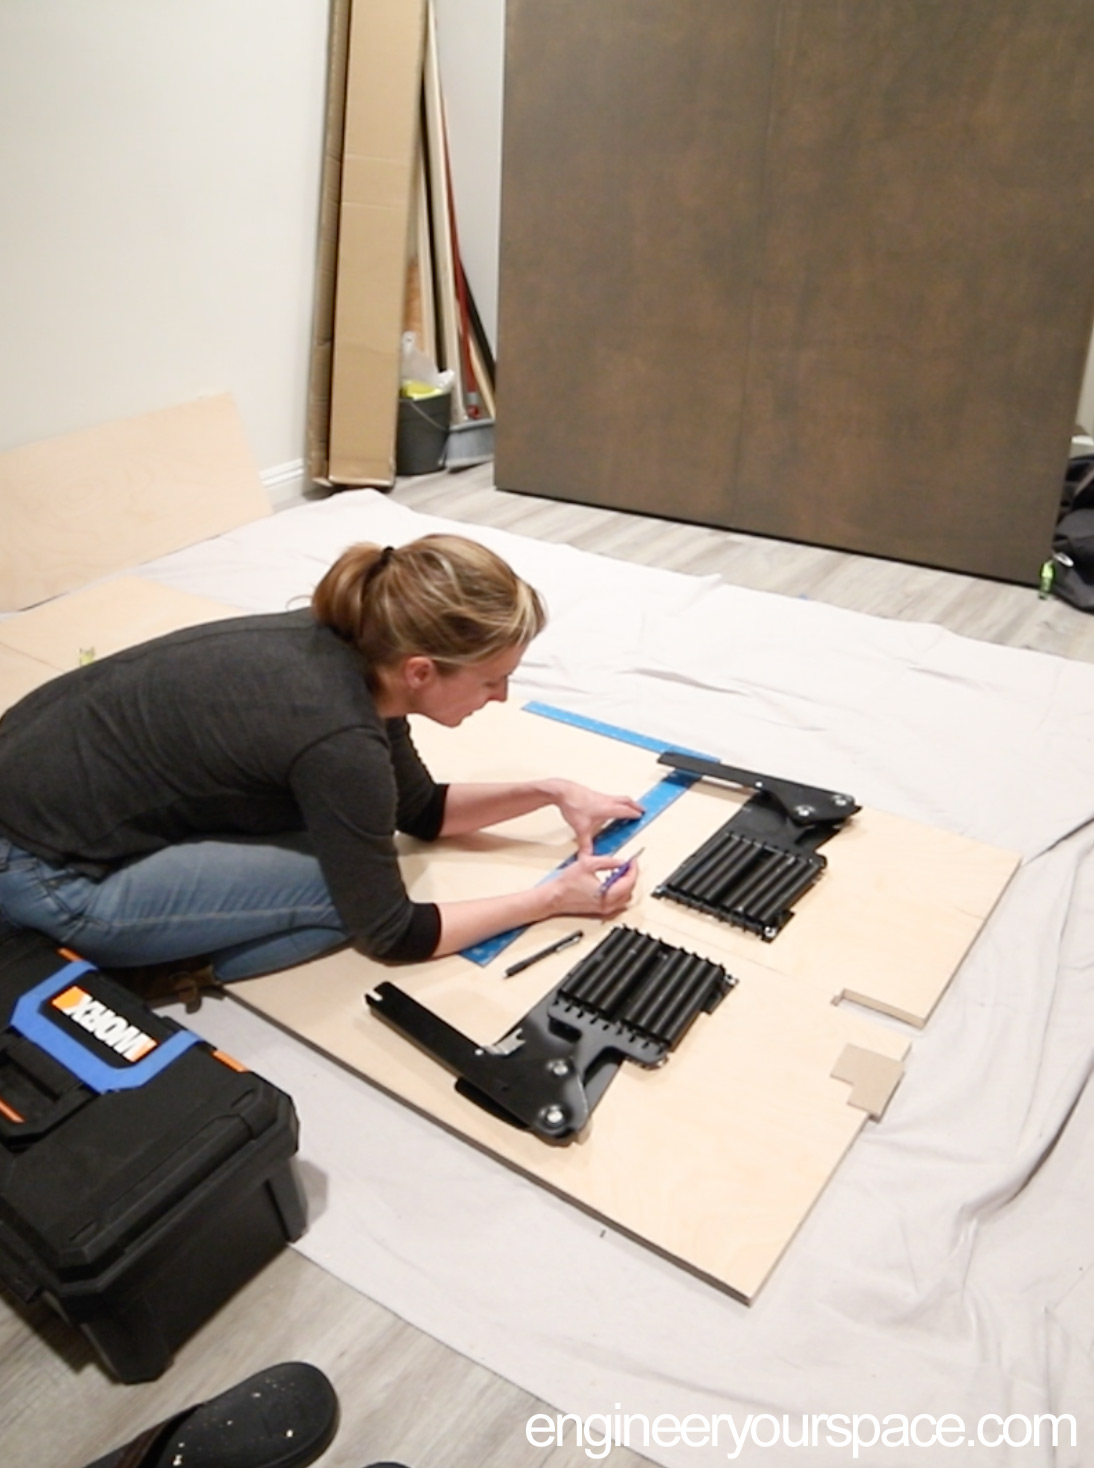
Most Murphy bed cabinets are assembled using dowels and glue or pocket screws and glue, but because this Murphy bed will need to be disassembled when it’s time to move, I chose to skip the glue and use brackets and screws instead (I ordered them with the Murphy bed hardware kit).
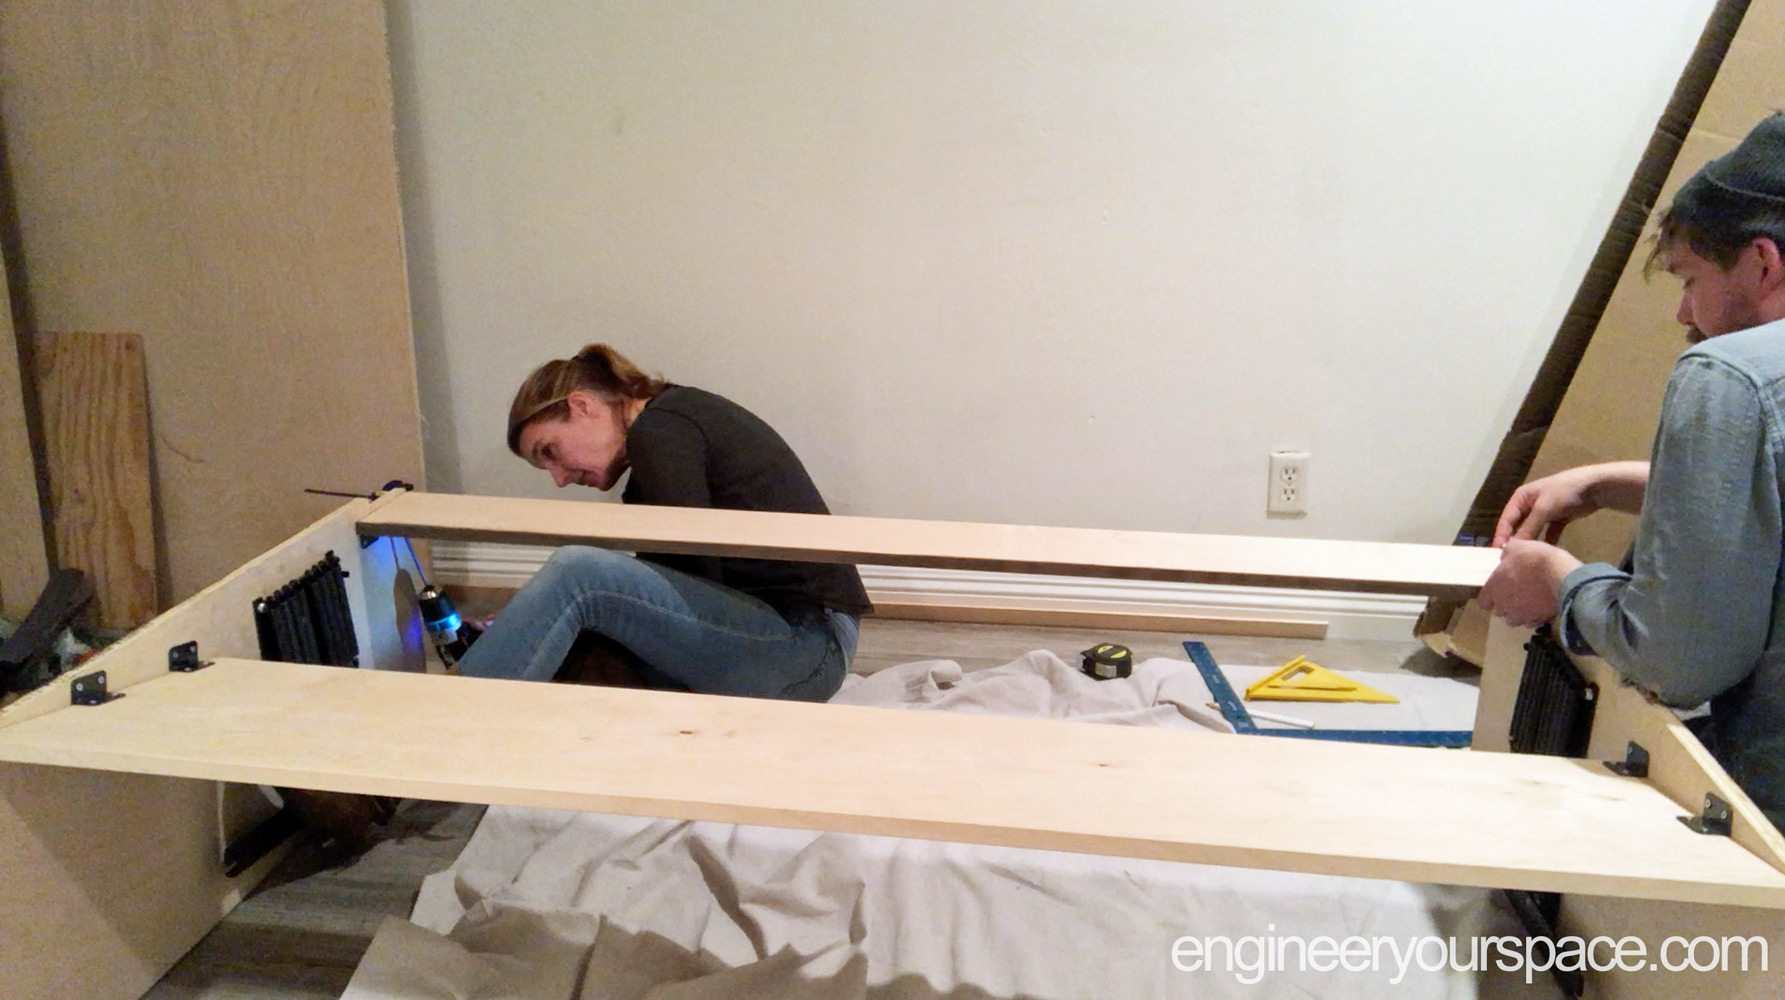
The final part of building the Murphy bed cabinet was to assemble the front panel, which includes the frame for the mattress. This was part of the Murphy bed kit I used (you can also buy kits that only has the lift mechanism, but that means building the mattress box from scratch which would have taken more time than I had to complete this project).

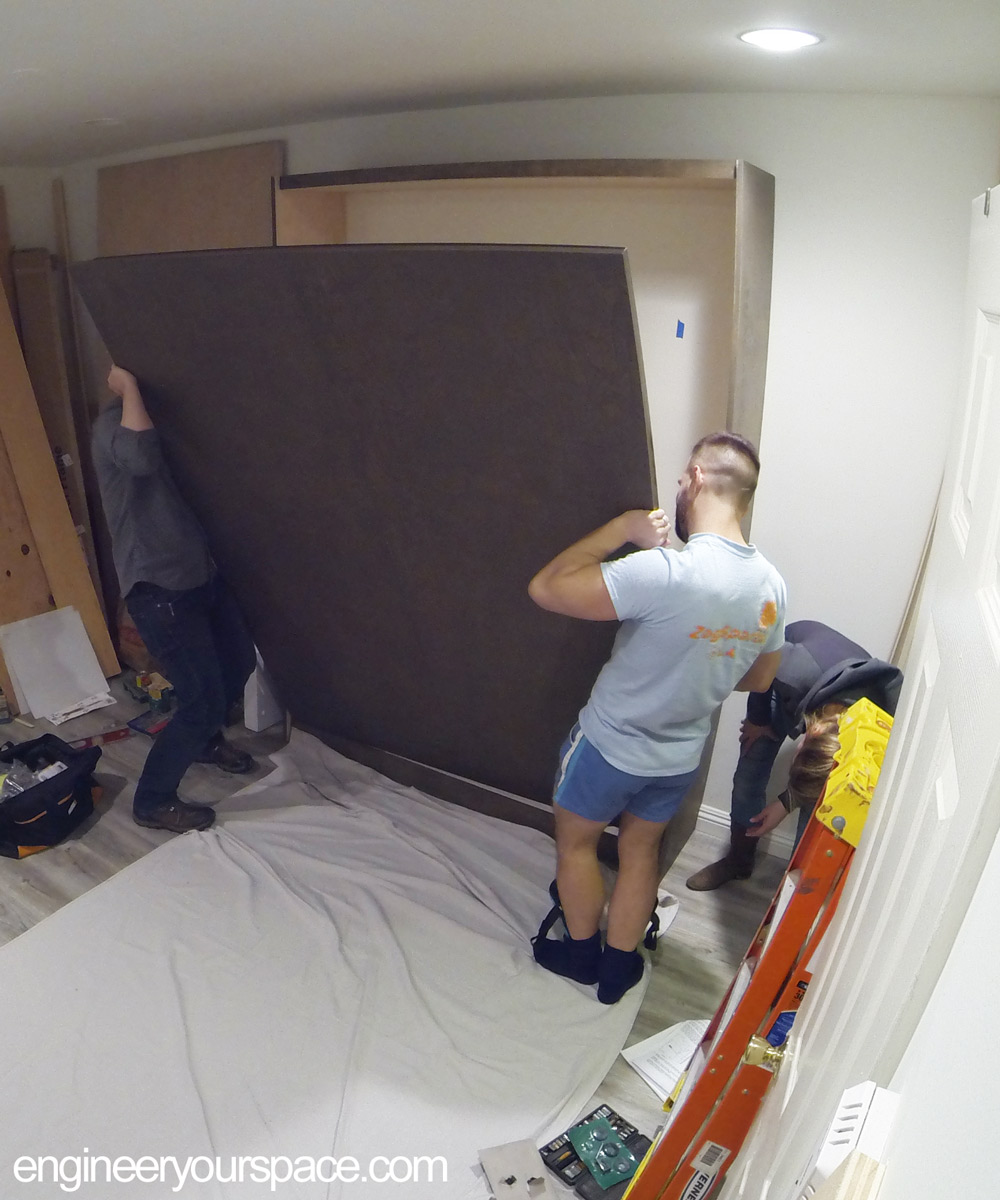
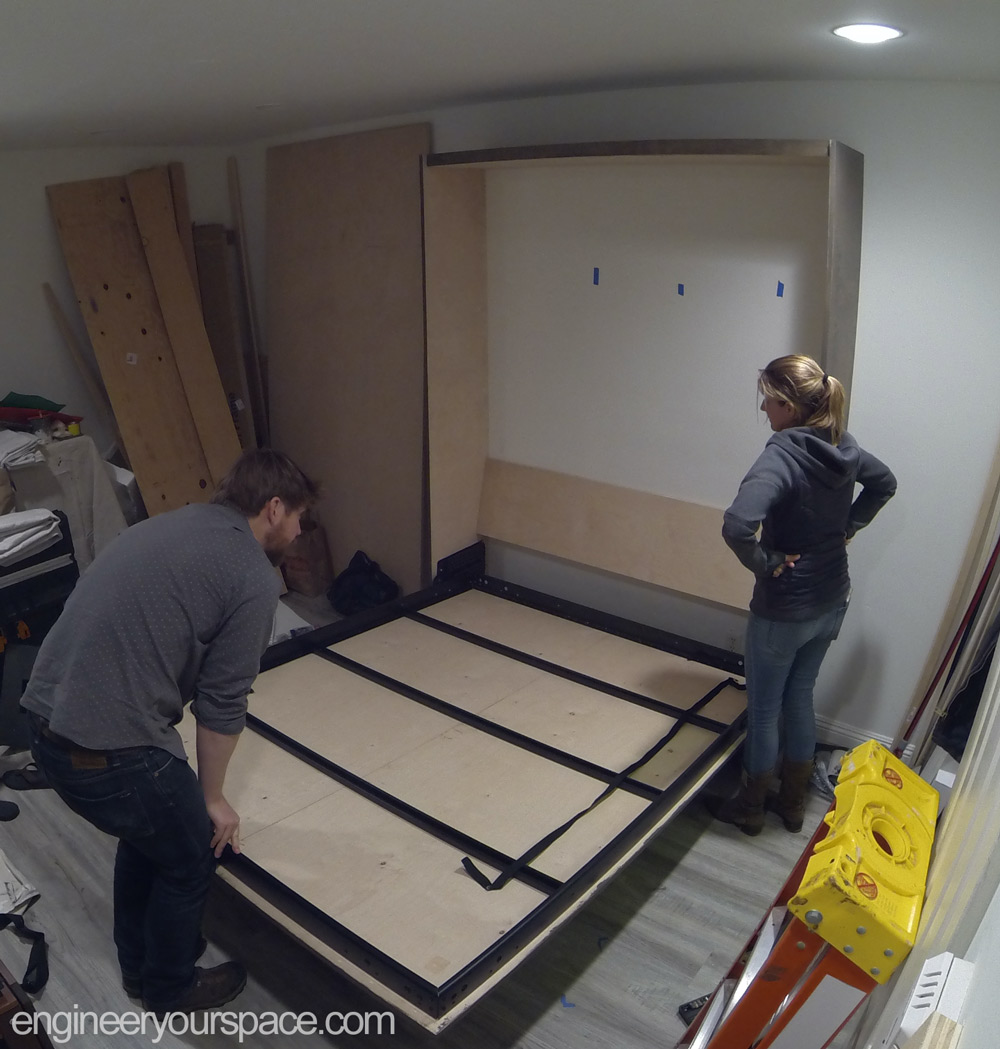
With the cabinet and front panel assembled, I enlisted the help of a couple of friends with the final step (the front panel is very heavy!), attaching the front panel to the lift mechanism in the cabinet.
That’s pretty much it for building the Murphy bed, all that was left was putting on the legs (they come with the kit) and adding the mattress.

Most people stop here since typically, Murphy beds are only used occasionally for guests. However, this Murphy bed is in a 200 ft2 studio apartment and as such, it’s going to be used every day and will essentially be the bedroom. So it was important to give it more cozy feel as well as add lighting for bedtime reading. The plan I came up with was to cover the exposed wall above the headboard with a wood panel that also incorporated 2 industrial wall sconces to match the style that the rest of the apartment will have once the complete makeover is done.
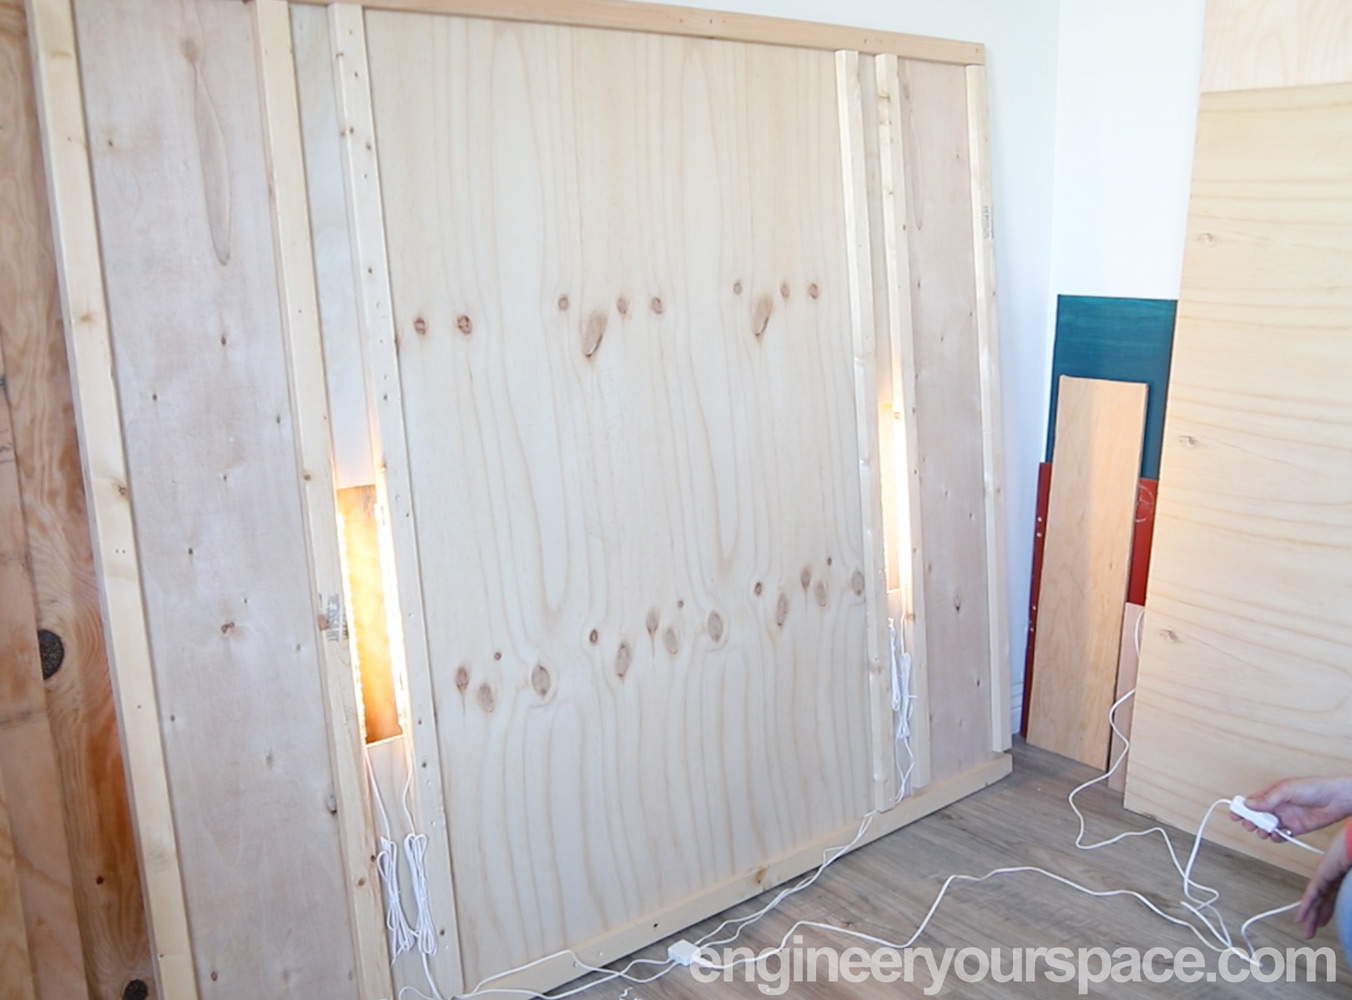
It needed to be no more than 1″ thick so it wouldn’t interfere with the mattress and bedding, so I built it using 1″x2″ furring strips and 1/4″ plywood to make the structure. This is the back showing where the lights are (I used an LED light kit from IKEA).
I stained the front of the panel the same color as the outside of the cabinet (Varathane Briarsmoke) and metallic paint made the wood on the sides of the wall sconces look more like metal.

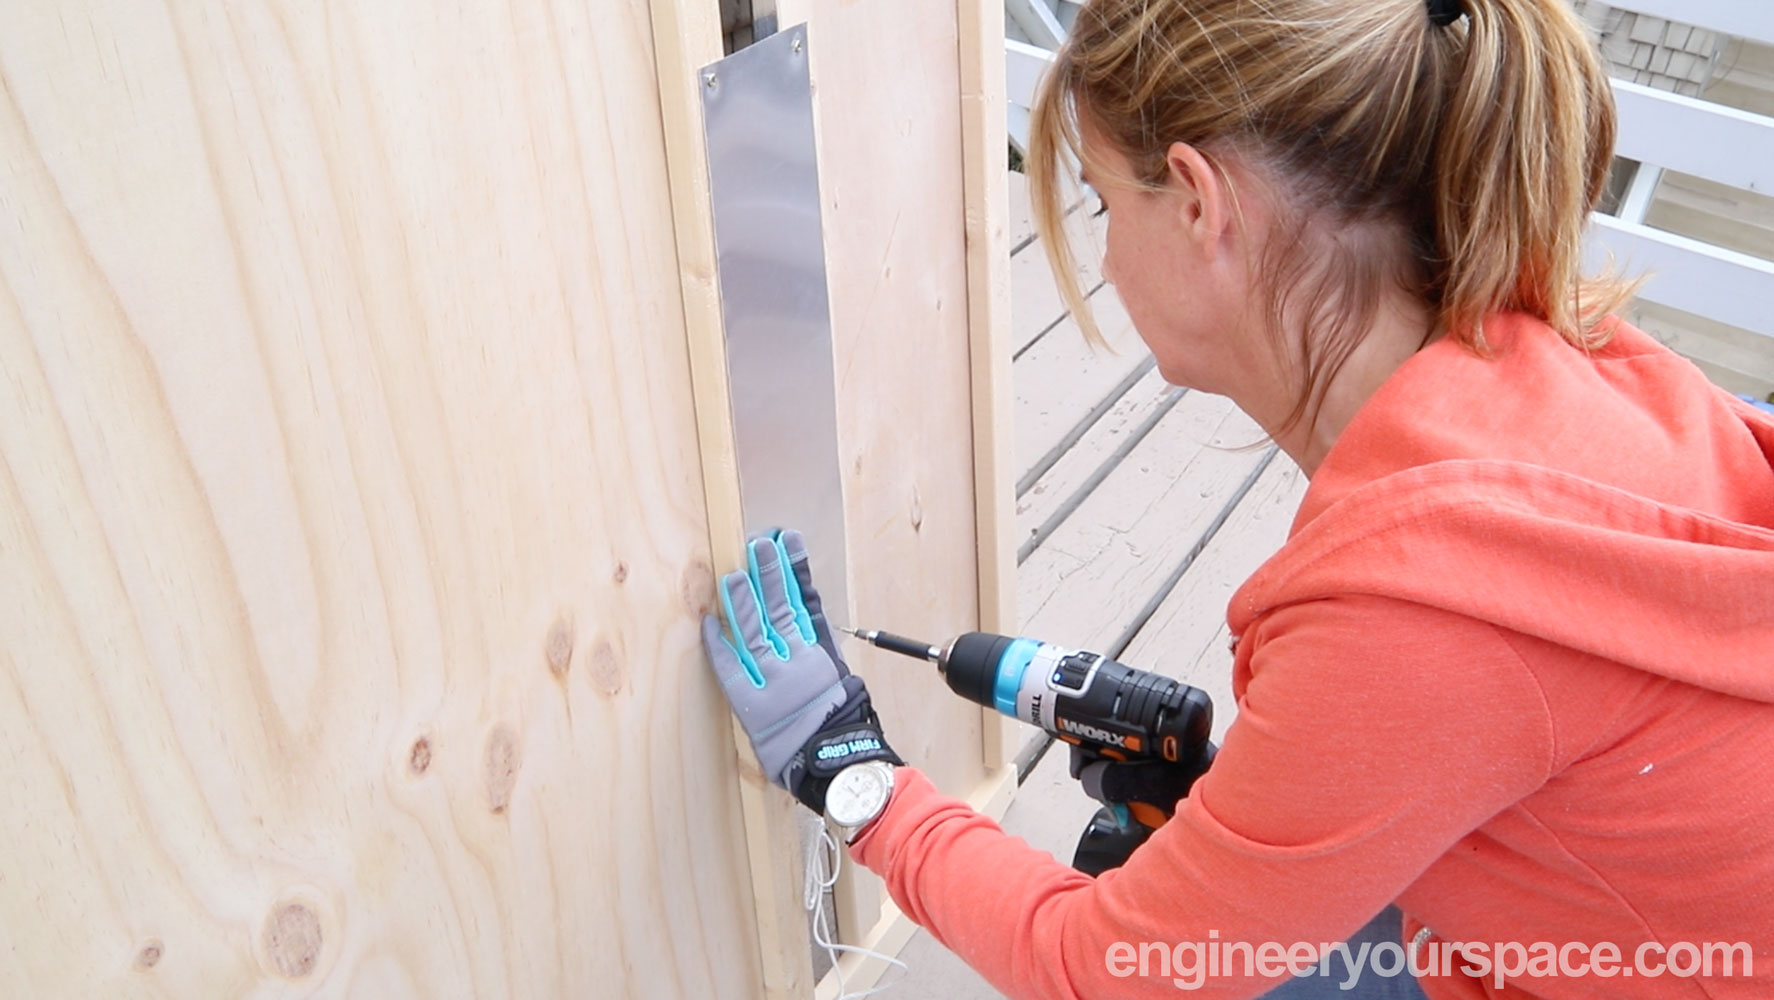
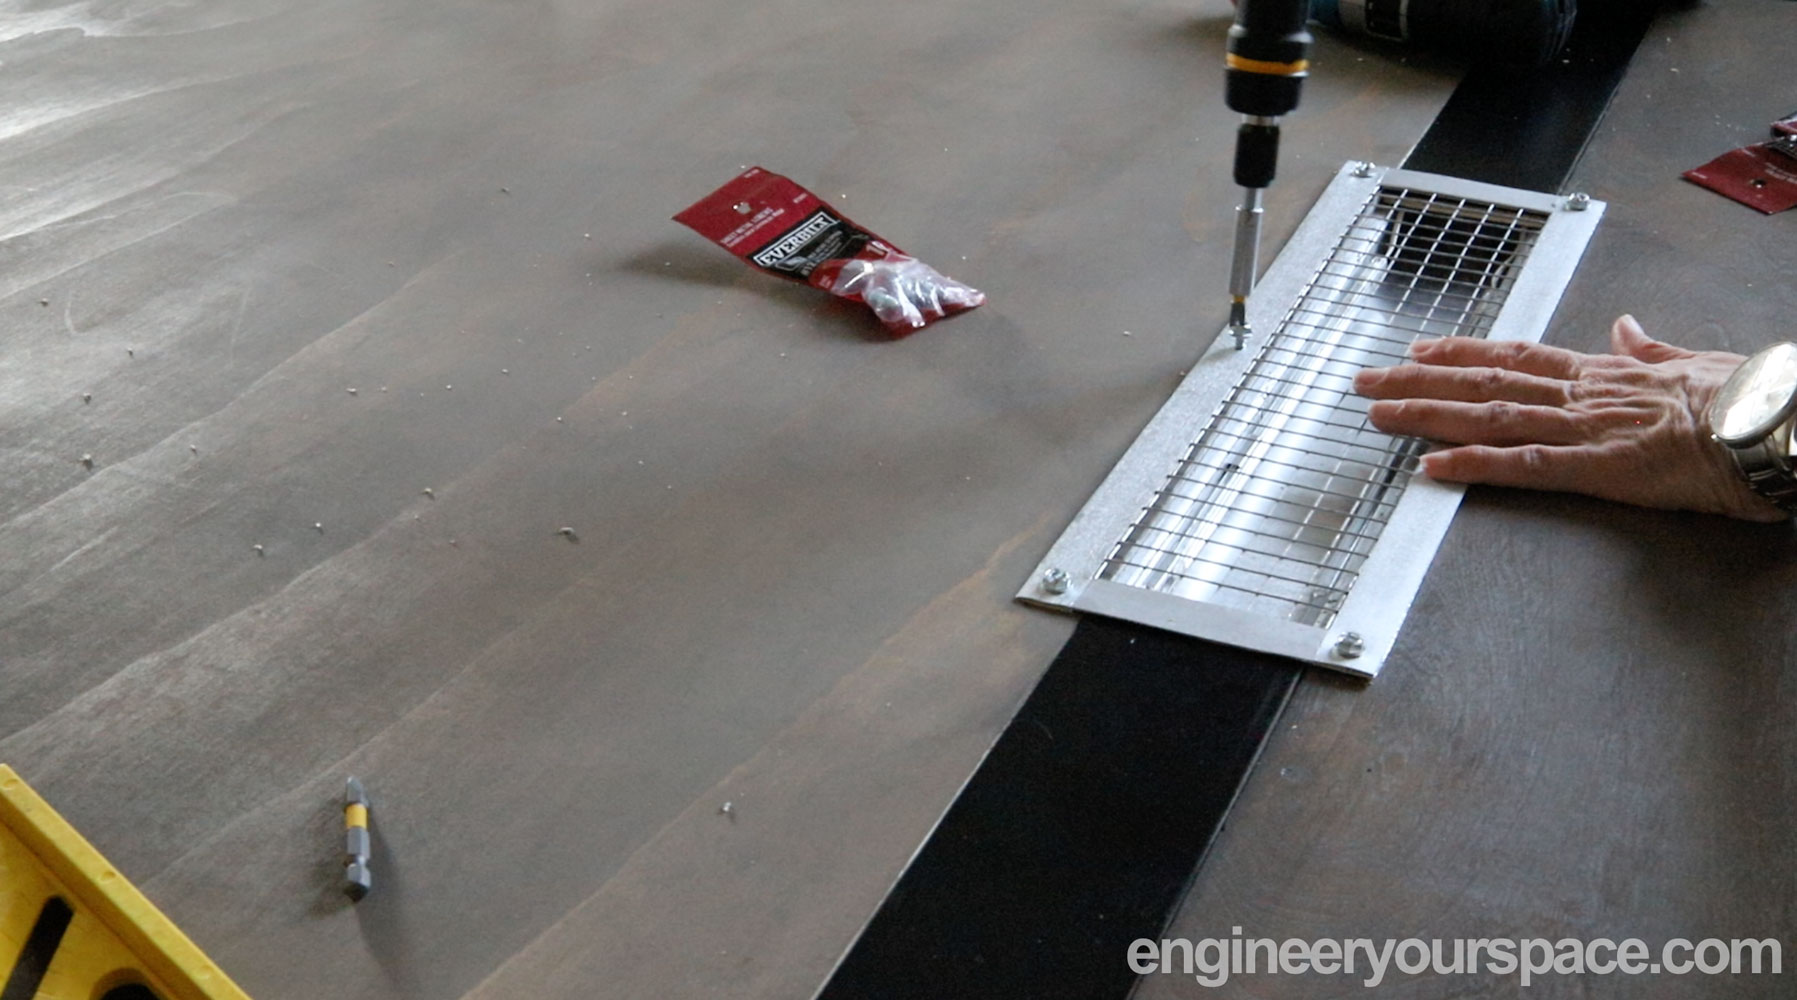
To reflect more light, I also attached a sheet of metal to the back of the wall sconces.
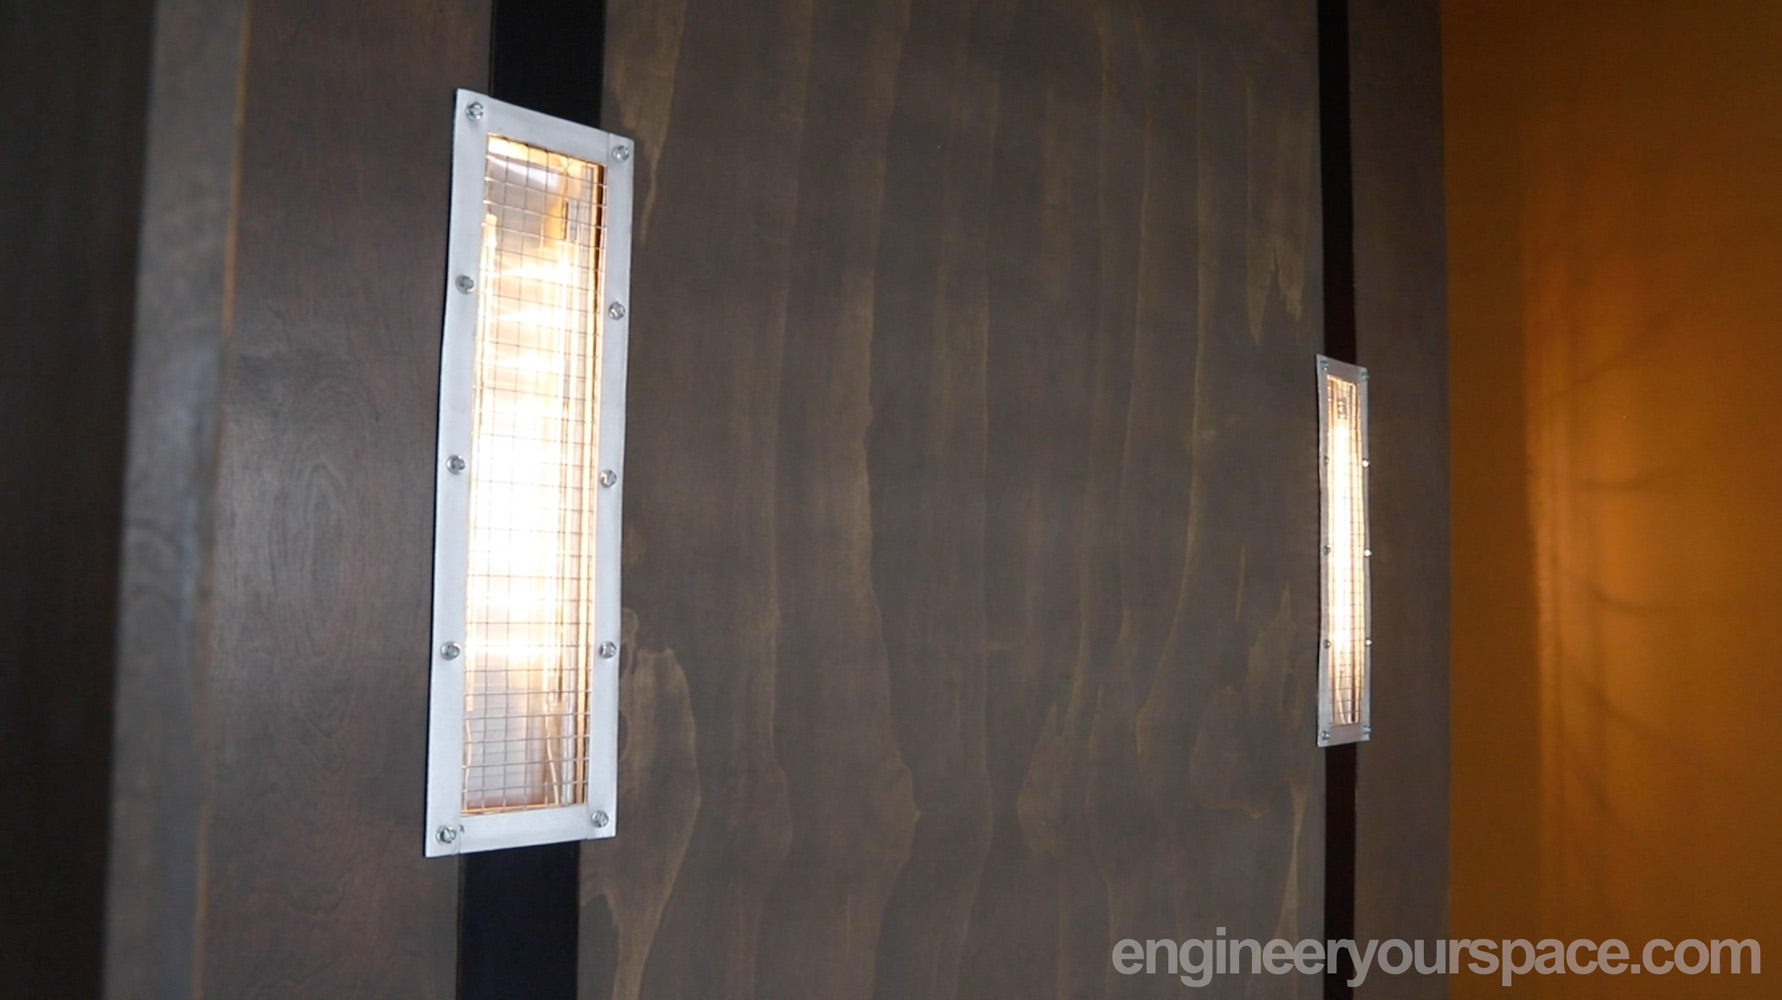
The finishing touch for the wall sconces were the covers. Since the apartment will have a rustic industrial vibe, I wanted to covers to reflect that. I thought it would be fun to do an experiment and use wire mesh with glue on wood edging I had left over from the build to make the covers.

The covers worked out even better than I thought – the metallic paint completely transformed the look of the edging and the sheet metal screws I used to attach them to the panel added just the right industrial vibe.
The last finishing touch was painting the inside of the cabinet in a warm orange, inspired by the Venice beach sunsets.
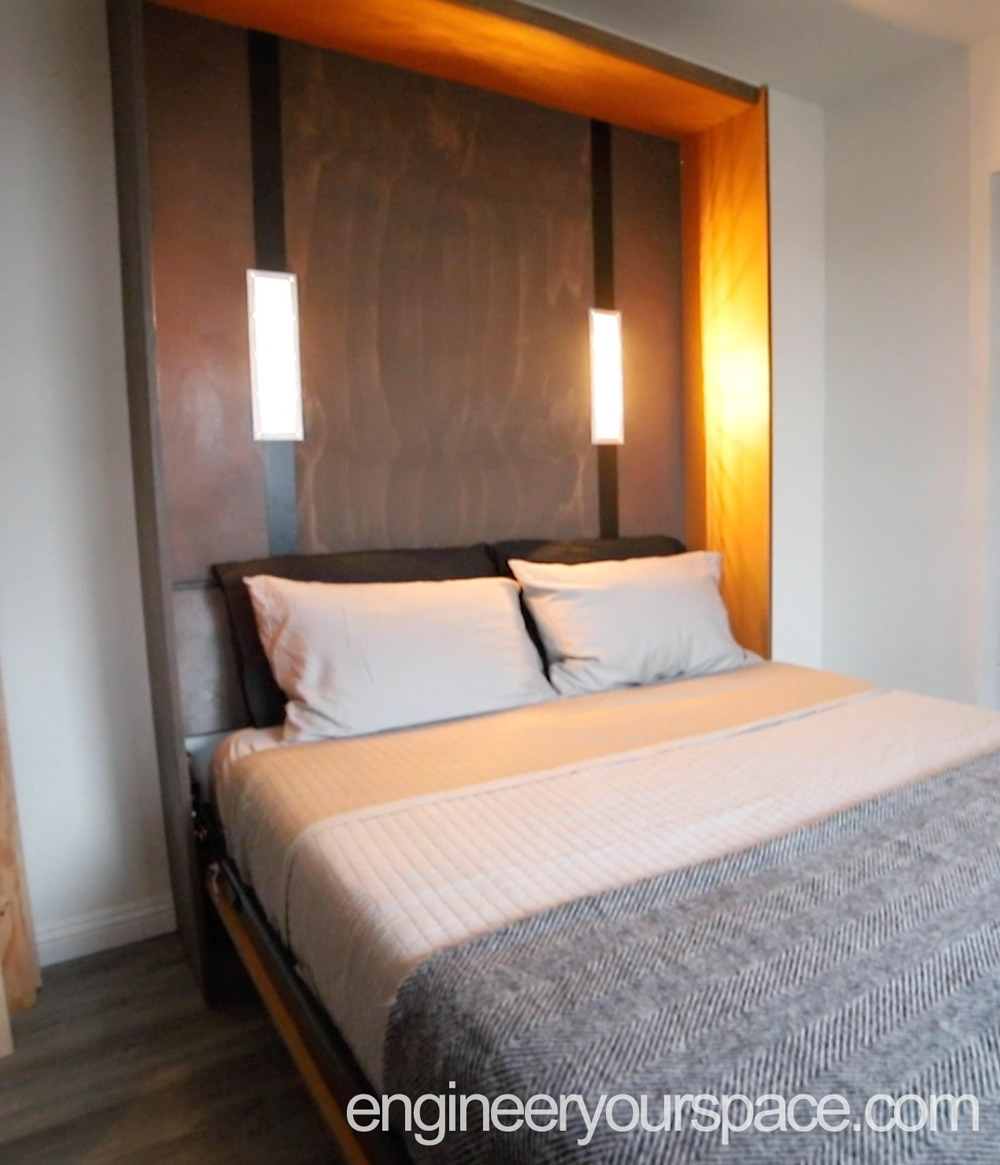
So there you have it, probably the most pimped out DIY Murphy bed you’ll ever see! There’s lots more to come for the tiny 200ft2 studio makeover so make sure to subscribe to my newsletter so you don’t miss out on anything!


0 Comments