My friend’s tiny rental kitchen (it’s only 5ft x 5ft!) was very drab and didn’t match his style at all. So he asked me if I could give it the “engineer your space” treatment to give his rental kitchen an industrial rustic look with some organic elements. I love a challenge so I said yes! The very first thing I wanted to do was add a dramatic black tile backsplash to set the tone for the space.
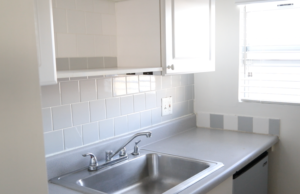
Being a rental, taking down the existing tile was out of the question. My solution? Cover up the existing tiles with Smart Tile black subway Peel and stick tiles.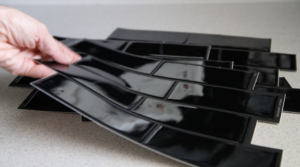
I only use Smart Tiles peel and stick tiles because they are of the highest quality, both in the adhesive they use and in how they are made (this is not a sponsored post, I just love these tiles!) when compared the with cheaper knock offs. They are thicker than the less expensive knock offs, so they will cover tiles without showing the lines. Plus they stick extremely well while at the same time being easy to remove without leaving any residue on the existing tiles.
They are extremely easy to install. First you prep the surface by using a degreaser to remove all the dirt and grime.
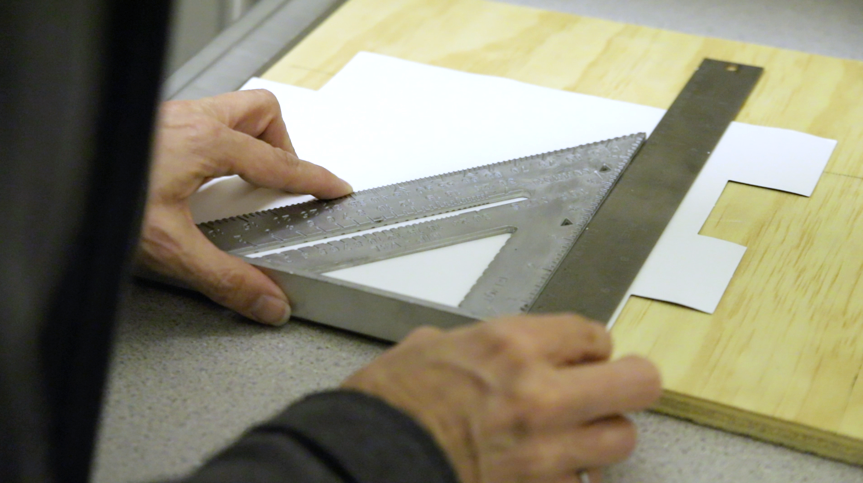
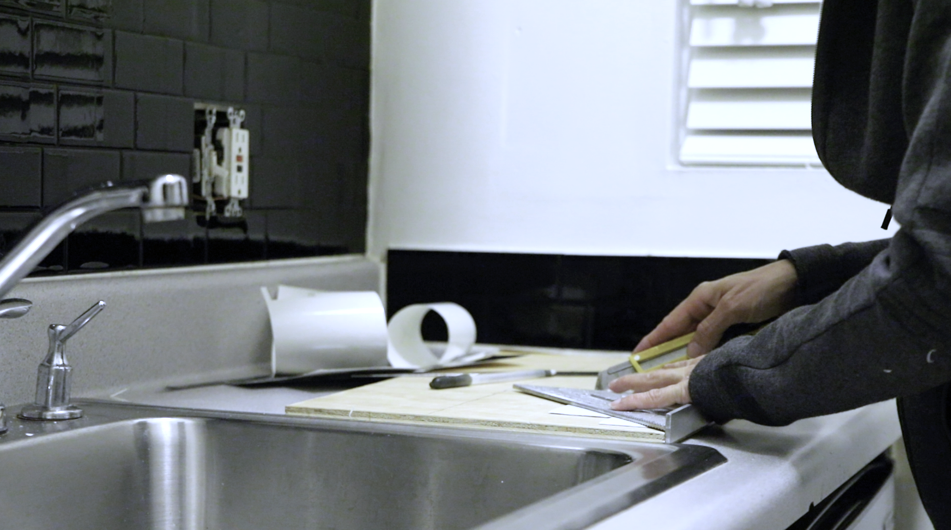
All you need to cut the tiles is a utility knife and a straight edge. I like to use a piece of scrap plywood to cut the tiles on and I use a speed square to make sure my cuts are at exactly at 90 degrees.
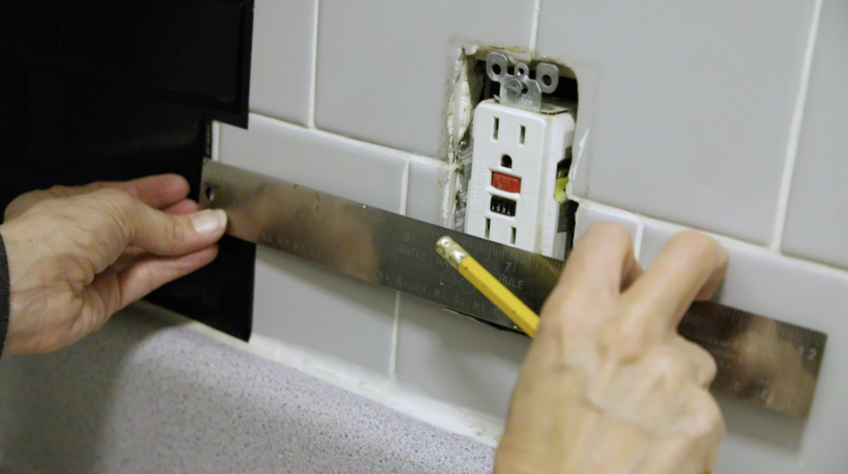
Cutting the tiles to fit around outlets is way easier than if with traditional tiles. You just measure the outlet opening and then transfer the measurements to the tiles.
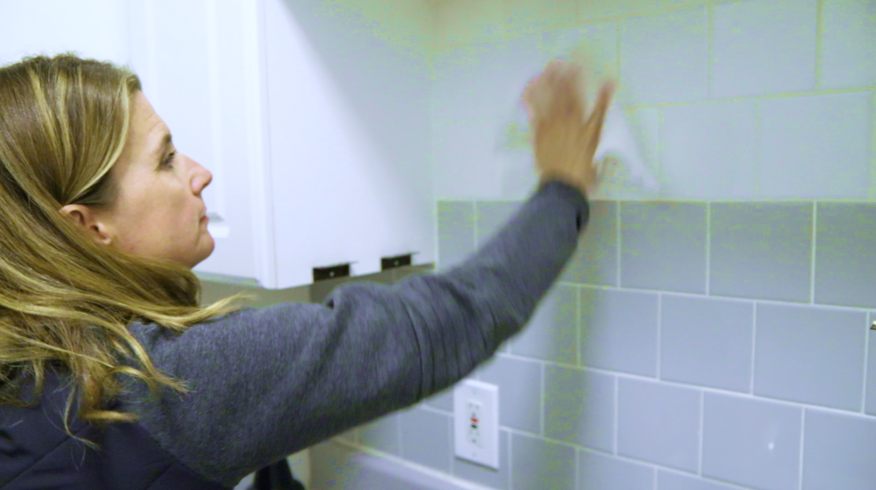
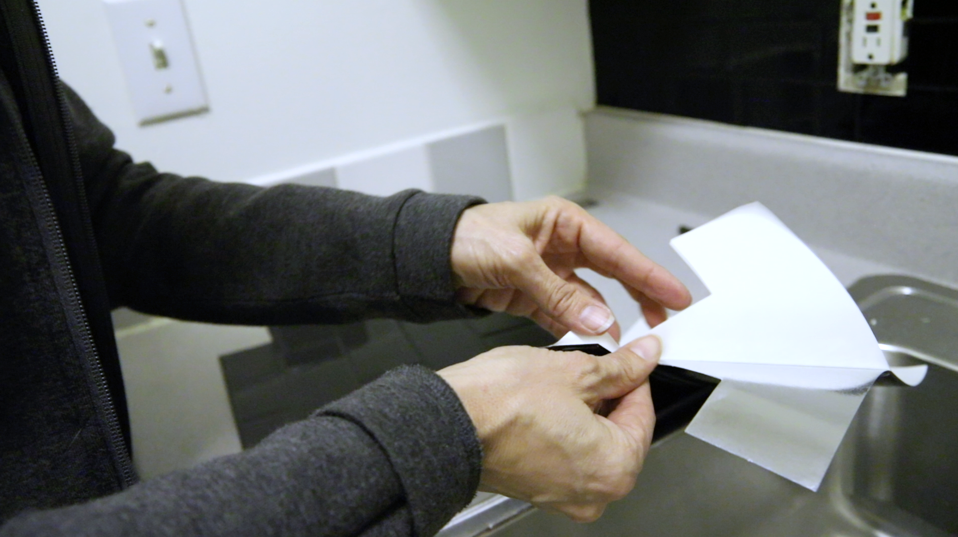
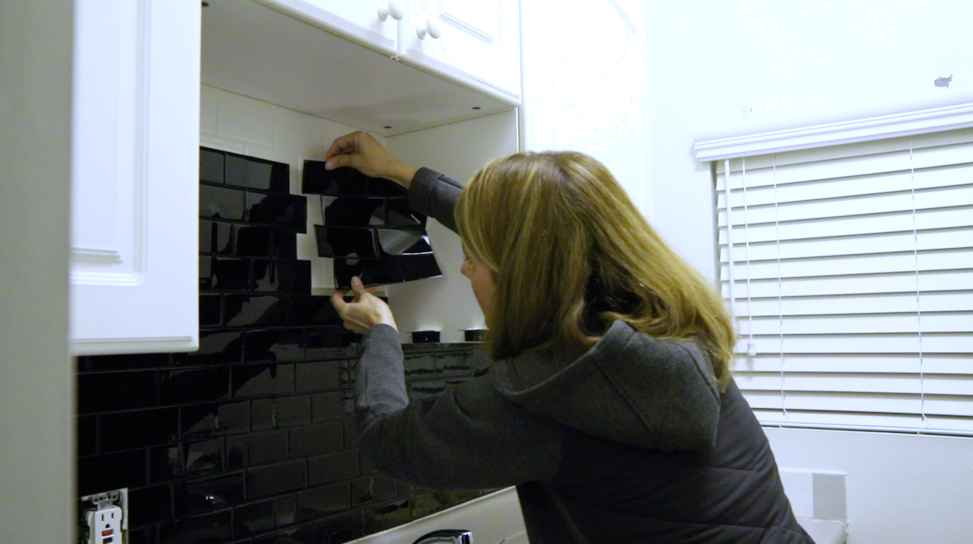
When installing these tiles on a plain wall, you need to draw a reference line to make sure all the tiles are lines up straight. In this case, because there were tiles already installed, I used the grout lines as my guide. For each tile, I simply removed the backing, lined it up and then once I was satisfied with the alignment, I pressed down hard all over the tile.
Compared to traditional tiles, this is so much easier, faster and definitely not as messy. Plus I didn’t have to buy any of the typical tools used for tiling.
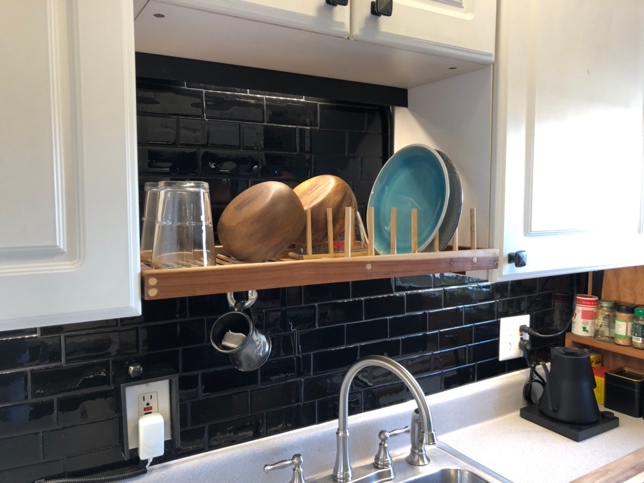
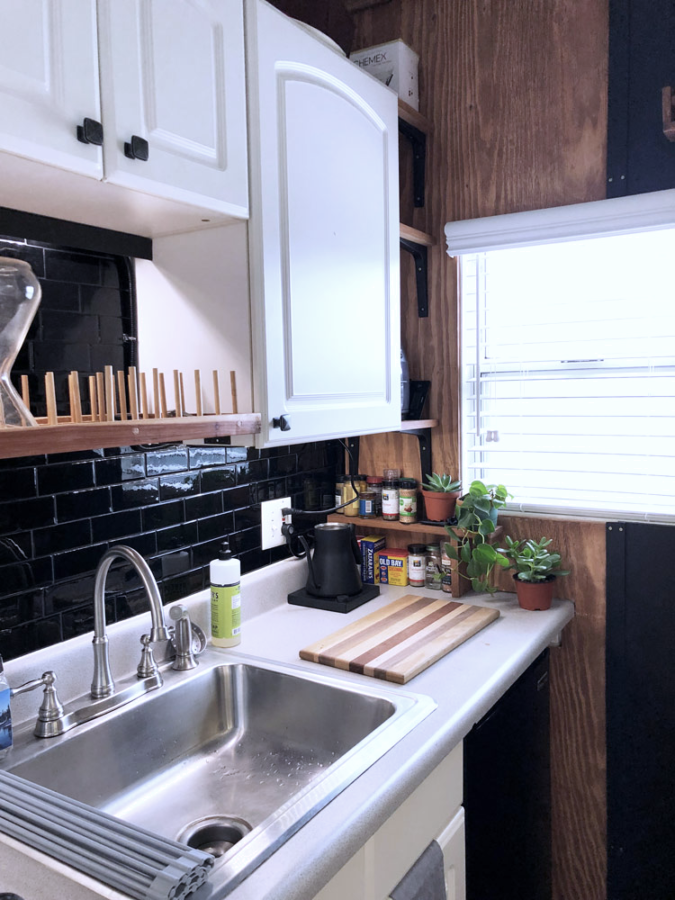
And the final result was simply stunning. The black tiled backsplash is the star of this makeover and serves as the perfect backdrop to all the other changes that I made to this kitchen, which I list below:

Here’s all the projects I did:
DIY shelf dish rack
New faucet
Removable wood wall
Under Cabinet Lighting
Fridge makeover with contact paper
DIY shelf Coffee Station
Pull out Trash/Recycling center
Wall mounted storage
DIY spice storage
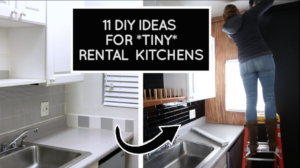
You can see the complete kitchen makeover in this video. I hope if inspires you to look at your kitchen differently and see the potential, no matter how tiny it is!
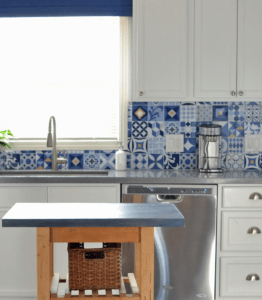
And if you’re interested in seeing other ways you can use Smart Tiles Peel and stick tiles, take a look at these projects I’ve done:


0 Comments